Brivo Access
Administrators
Administrator Roles
Applying Assignments to an Administrator in Brivo Access
Managing an Administrator in Brivo Access
Configuration
Emergency Scenarios
Getting Started with Emergency Scenarios
Creating an Emergency Scenario
Initiating an Emergency Scenario
Clearing an Emergency Scenario
Activating a Group-based Lockout in Brivo Access
Excluding a Group from Lockdown in Brivo Access
How to Configure a Global Lockdown
How to Configure a Global Egress
Account Settings
Enable Multi-factor Authentication
Reset Multi-factor Authentication in Brivo Access
Shared Access Setup & Group Sharing in Brivo Access
Managing Account Settings in Brivo Access
Setting up Multi-factor Authentication
Setting a custom Logo for Brivo Mobile Pass in Brivo Access
Using your Multi-factor Authentication Recovery Code
Expire Unused Credential
What is Remote Access?
Enabling Facial Authentication
Configuring Personnel Control
Enabling COVID-19 Self Screening
Using Multi-factor Authentication
How can you change the time zone for a Brivo Access account?
Data Retention
Site Settings
Floor Plans
How to view floor plans in Brivo Access
How to edit floor plans in Brivo Access
How to create a Floor Plan in Brivo Access
Floor Plan Usability
Managing Site Settings in Brivo Access
Subsites in Brivo Access
Schedules & Holidays
Creating a Holiday in Brivo Access
Creating a Group Enabled Schedule
Creating a Schedule in Brivo Access
Editing a Schedule
Notifications
Create a Notification
Cellular Reference Chart
Creating a Monitored Device Notification
Device Filters for Devices and Valid Access Notifications
Custom Fields
Commands
Credentials
Add Cards
Managing the Card Bank in Brivo Access
Assigning a License Plate Credential to a User
Adding Cards - Swipe to Enroll
Issuing a Brivo Mobile Pass or Wallet Pass in Brivo Access
Managing Brivo Wallet Pass in Brivo Access
What credential formats are supported by Brivo?
What is Optional Card Offset?
Adding Cards - Bulk Upload
Managing Unknown Cards in Brivo Access
How to use faceprint credentials
Creating a Brivo Door Station faceprint credential
Data Explorer
Data Explorer: Daily Active Users by Site
Introduction to Data Explorer
Data Explorer: Activity by Site
Data Explorer: Adding and Removing Visual Elements
Data Explorer - People counting by door over a specific date range with granularity options
Devices
Elevator Floor Control
Applying a Schedule to an Elevators & Floors
Applying a Door Override
Applying a Schedule to a Door
Setting the Arming Mode of an Alula Panel in Brivo Access
Using Device Status in Brivo Access
Events
Using Event Classification in Brivo Access
How to use Incident Management
Using Snapshot Log in Brivo Access
Accessing the Journal
Using the Event Tracker
Global View
Marketplace
Mindbody
Property Management Systems
Enabling RealPage Integration in Brivo Access
Enabling Entrata Integration in Brivo Access
Enabling RentManager Integration in Brivo Access
Enabling Yardi Integration in Brivo Access
Fetching units from Property Management Systems in Brivo Access
Disabling a Property Management System Integration
Fetching residents for Property Management Systems
Checking residents in your Property Management System
Video
Integration Marketplace
Languages
Occupancy Management
Using the Occupancy Dashboard in Brivo Access
Configuring Sites for Occupancy Management in Brivo Access
Reports
Running an Existing Report Configuration in Brivo Access
What are Reports in Brivo Access?
Creating a New Report Configuration
Creating a New Report Schedule
Creating a User Report
Running an In/Out Report in Brivo Access
List of Report Configurations in Brivo Access
User Image Quality Report
Managing Report Jobs
Users & Groups
Guest Management
Questions about your Guest Invite
How can I get Guest Management
Questions about your Guest Mobile Pass Invite
Guest Management FAQ
Configuring Guest Management
Suspending a User in Brivo Access
Modifying Group Permissions in Brivo Access
Exporting User Information
Deleting a User in Access
Issuing a PIN Code to a User in Brivo Access
Creating a User in Access
Viewing User Recent Activity in Brivo Access
Admin Bulk Actions - Deleting, Suspending or Reinstating Users
Creating a Group
Issuing a Card in Brivo Access
Using Badge Templates in Brivo Access
Video
Custom Video Layout
Viewing Recorded Video
Viewing Live Video - All Sites
How to use Video in Brivo Access
Brivo Access Cam Networking Ports
Account Configuration
Doors and Devices
How to add a device to a site in Brivo Access
How to View a Device in Brivo Access
How to Manage Floors in Brivo Access
How to Manage Elevators in Brivo Access
Viewing Valid Credential Relationships in Brivo Access
How to Manage Doors in Brivo Access
How to View Floors in Brivo Access
How to View Doors in Brivo Access
How to define a door in Brivo Access
To Define a Salto Door in Brivo Access
How to Manage a Device in Brivo Access
Sites
Mapping Offline Devices in Brivo Access
Site List in Brivo Access
How to Manage Sites in Brivo Access
View Sites in Brivo Access
Control Panels
Brivo Access Release Notes
How to use Dashboards in Brivo Access
Brivo Genius: AI-Powered Support and Smart Filtering
Using the New Navigation Menu in Brivo Access
How do I reset my password in Brivo Access?
Brivo Mobile Pass
Brivo Mobile Pass Release Notes
Non-Brivo Mobile Credentials
Provisioning HID Mobile Pass
HID Origo Activation in Marketplace
Redeeming your HID Mobile Pass
Enabling Allegion Mobile Pass for Offline Locks
Brivo Wallet Pass
Adding an Employee Badge to Apple Wallet
Adding an Employee Badge to Apple Watch
Brivo Wallet Pass - FAQ
Adding an employee badge to Google Wallet
How do I activate the ability for people to add their Brivo Mobile Passes to Apple Wallet in Brivo Access?
Brivo Mobile Pass FAQ
Favorite a door
Manually redeeming a Brivo Mobile Pass
Adding a widget on Android
Adding a widget on iOS
What is needed to use Magic Button with Brivo Mobile Pass
Opening a unit lock
Create a Brivo Mobile Pass Account
Linking a Brivo Smart Home Account
Enabling a Siri shortcut
Customize a door name
What is the minimum iOS or Android versions needed for Brivo Mobile Pass?
Inviting Guests
I don't see any doors in my Brivo Mobile Pass
Controlling Thermostats
Brivo Wallet Pass Global Availability
Redeeming your Brivo Mobile Pass
Hardware
Brivo Hardware
ACS6000/ACS6100
Brivo Door Station
Configuring a Brivo Door Station
How to setup Intercom for Brivo Door Station
How to use Intercom on a Brivo Door Station
How to setup notifications for Brivo Door Station
How to view Live Video with the Brivo Door Station
How to use Talkdown with the Brivo Door Station
Brivo Door Station FAQ
Brivo Door Station Release Notes
Brivo Smart Readers
Bandwidth Recommendations for Brivo Hardware
Brivo Onsite Server/Brivo Onsite Firmware Release Notes
Uploading Firmware via USB
3rd Party Hardware
Mercury
Converting the OEM Code on a Mercury Panel to Brivo
Configuring In / Out Reports for Brivo Mercury Solutions
Configuring Multiple OSDP Readers per Node
Mercury Integration Capability Matrix
Setting up Multi-Drop for Multiple OSDP Readers per Door
Brivo Mercury Solutions FAQs
Brivo Mercury Solutions - Plug and Play Provisioning - MP Series
Hardware Frequently Asked Questions (FAQ)
Ports and IP Addresses by Product Category
Brivo Access Mobile App
Users
Suspending or reinstating a user in the Brivo Access Mobile App
Issuing a Brivo Mobile Pass in the Brivo Access Mobile App
Issuing a card in the Brivo Access Mobile App
Creating a new user in Brivo Access Mobile App
Assign a user to a group in the Brivo Access Mobile App
Issuing a PIN in the Brivo Access Mobile App
Devices
Applying a schedule to a door in Brivo Access Mobile App
How to activate or deactivate an Emergency Scenario
How to unlock a Door in the Brivo Mobile Pass App
Account Settings
Brivo Access Mobile App Release Notes
Partner Portal
Brivo Smart Home
Properties
Change the Digit Length for Randomly Generated Access Codes
Set Temperature for all Vacant Units
Set a Check Out Time
Manually Send a Pin Code Via Email in Brivo Smart Home
Set a Check In Time
Lock all Vacant Units
Change How Long Following Check-out that Codes are Unsynced
Changing a Property's Time Zone
Turn off all Lights in Vacant Units
Schedule Auto-Lockout Time for all Company Properties
Adding a Property
Create Scheduled Access for a Property in Brivo Smart Home
Schedule Guest Code Sync
Manually Send a Pin Code Via SMS in Brivo Smart Home
Change how long prior to Check-in that codes are synced
Schedule Guest Code Removal Sync
Scenes
Delete a Property Level Scene
Create a Property Level Scene
Activate a Property Level Scene
Edit a Property Level Scene
Users
Delete a Company Level User
Deleting a Property Level User
Adding a Company Level User in Brivo Smart Home
Edit a Property Level User
Adding a Property Level User
Creating an Access Schedule for a User in Brivo Smart Home
Edit a Company Level User
WiFi
Integrations
Entrata
Brivo - Entrata Integration - Initial Setup in Your Entrata PMS
How to enable an Entrata integration in Brivo Smart Home
How to Verify Credentials in your Entrata integration
How to Sync Units in your Entrata integration
How to Create Units in your Entrata integration
How to Sync Residents in your Entrata integration
How to Remove your Entrata integration
Brivo Smart Home/Brivo Access Integration
Manually Refreshing Integrations
BookingSync Integration
CiiRUS Integration
FRS Integration
Guesty Integration
HSAPI Integration
Kigo Integration
LMPM Integration
Lodgix Integration
MRI Integration
MyVR Integration
Real Page Integration
Rent Manager Integration
Streamline Integration
Yardi Integration
Devices
Unpairing a Repeater
Installing a Gateway
Pairing a Honeywell T6 Thermostat
How do I lock the screen on a Honeywell T6 Pro Thermostat?
How do I unlock the screen on a Honeywell T6 Pro Thermostat?
What is the PIN to unlock the screen on a Honeywell T6 Pro Thermostat?
Gateway Install Tips
Pairing a Repeater
Pairing an Outlet Module
How to Manage Door Locks in Brivo Smart Home
Troubleshooting False Lock Jam Alerts
Brivo Smart Home Release Notes
Brivo Visitor
Admins
Administrator Functions
Administrator Functions Overview
Location Name
Printer Configuration
Email Notifications in Brivo Visitor
Host List
Auto Sign Out
Auto Refresh Host List
Accessing the Configuration Menu
Logging into Brivo Visitor
Configuring Brivo Access for use with Brivo Visitor
Configuring/Disabling Workflows
Reporting
Custom Questions
Document Agreement
Idle Screen Image
Visitors
Getting Started With Brivo Visitor
Brivo Visitor Release Notes
Identity and Access Management
SSO
Identity Connector
Okta
Identity Connector for Okta
BMP Provisioning with Identity Connector for Okta
Configure Identity Connector for Okta
Custom Field Mapping with Identity Connector for Okta
Brivo Wallet Pass Provisioning with Identity Connector for Okta
Azure
Configure Identity Connector for Azure Active Directory
Identity Connector for Azure Active Directory
BMP Provisioning with Identity Connector for Azure Active Directory
Custom Field Mapping with Identity Connector for Azure Active Directory
Brivo Wallet Pass Provisioning with Identity Connector for Azure Active Directory
Identity Connector Release Notes
Brivo Install
- All Categories
- Brivo Access
- Users & Groups
- Creating a User in Access
Creating a User in Access
 Updated
by Larry Wile
Updated
by Larry Wile
Overview
A User is any person who has been given a credential and generally has access to at least one door. Users are assigned to Groups which are assigned door and device permissions. Users can be either Active or Suspended within an account. If a User is Suspended, they are still a part of the account, but all of their access permissions will have been revoked until they are set back to Active.
All editions of Brivo Access allow for an unlimited number of users.
Prerequisites
The following Administrator permissions are required to create a User:
- View users
- Create user
Furthermore, the following permissions are required to edit or delete a User:
- Edit user groups
- Delete user
- Edit user profiles
- Assign user credentials
IMPORTANT NOTE: Users can also be administrators in Brivo Access, but they are considered separate entities as far as Brivo Access is concerned. Changes made to a user profile will not affect their administrator profile and vice versa.
Steps to Create a User
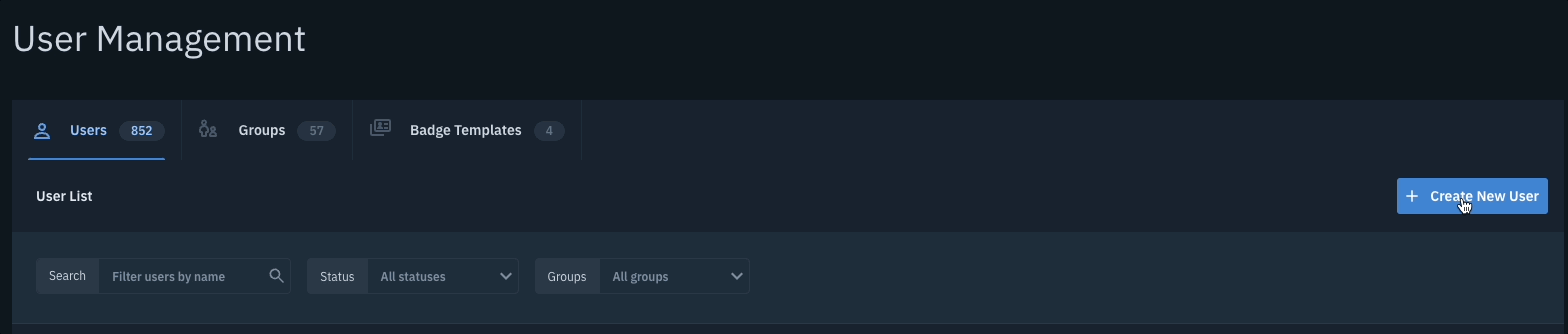
- On the left navigation bar, navigate to the Users tab.
- Once you are on the User page, click on the Create New User button.
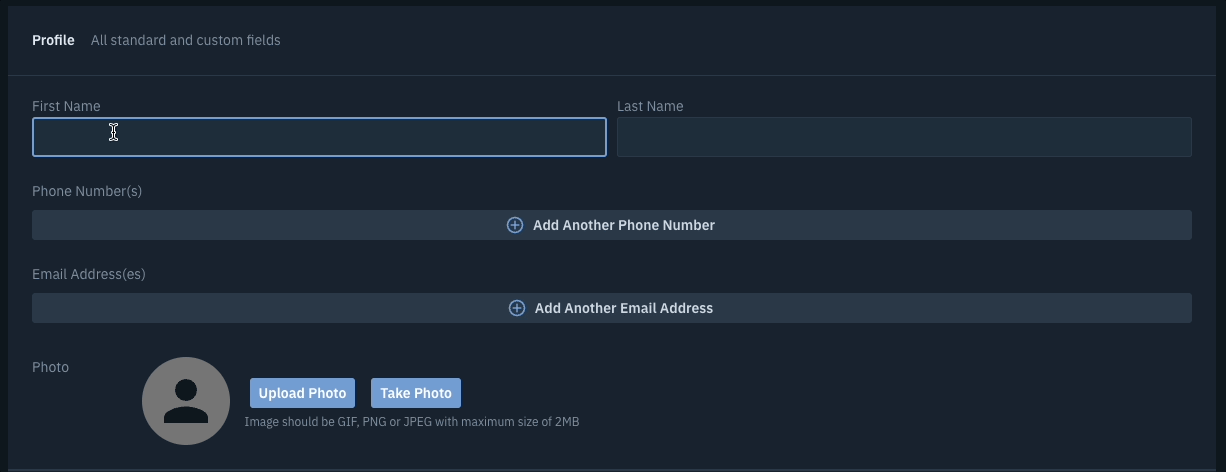
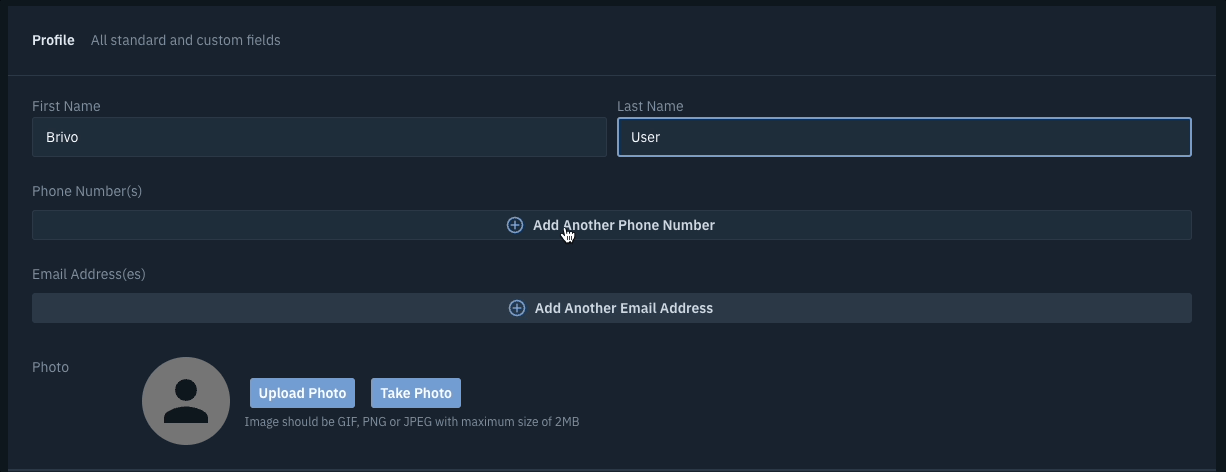
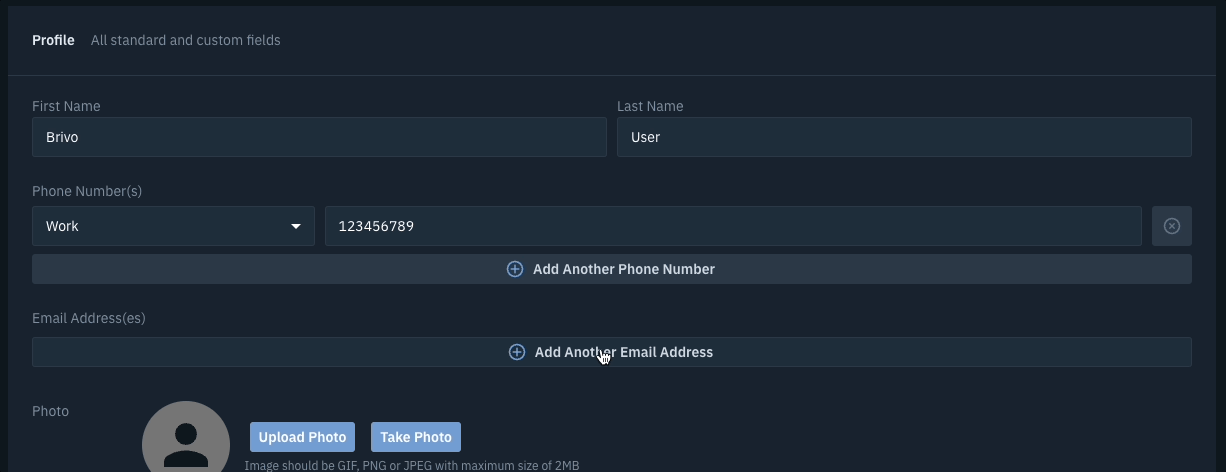
- Fill out the user’s information with their full name, phone number, and email. Optionally, you may upload a photo.
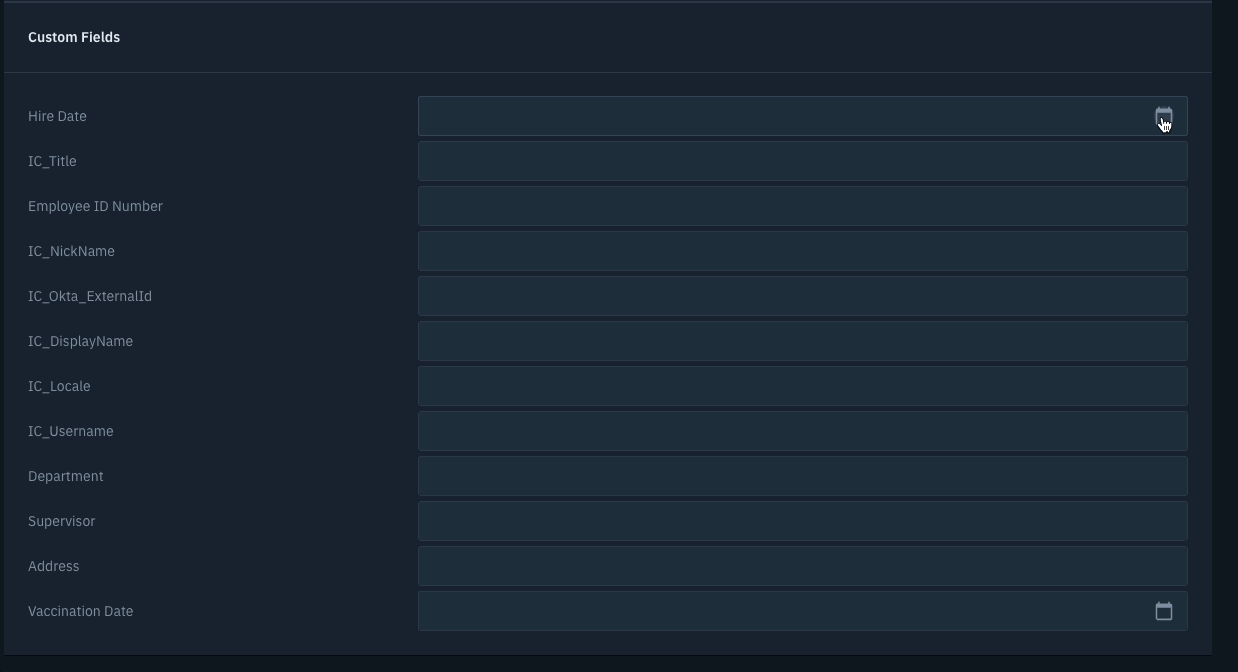
- Custom fields can be applied to the User if desired.
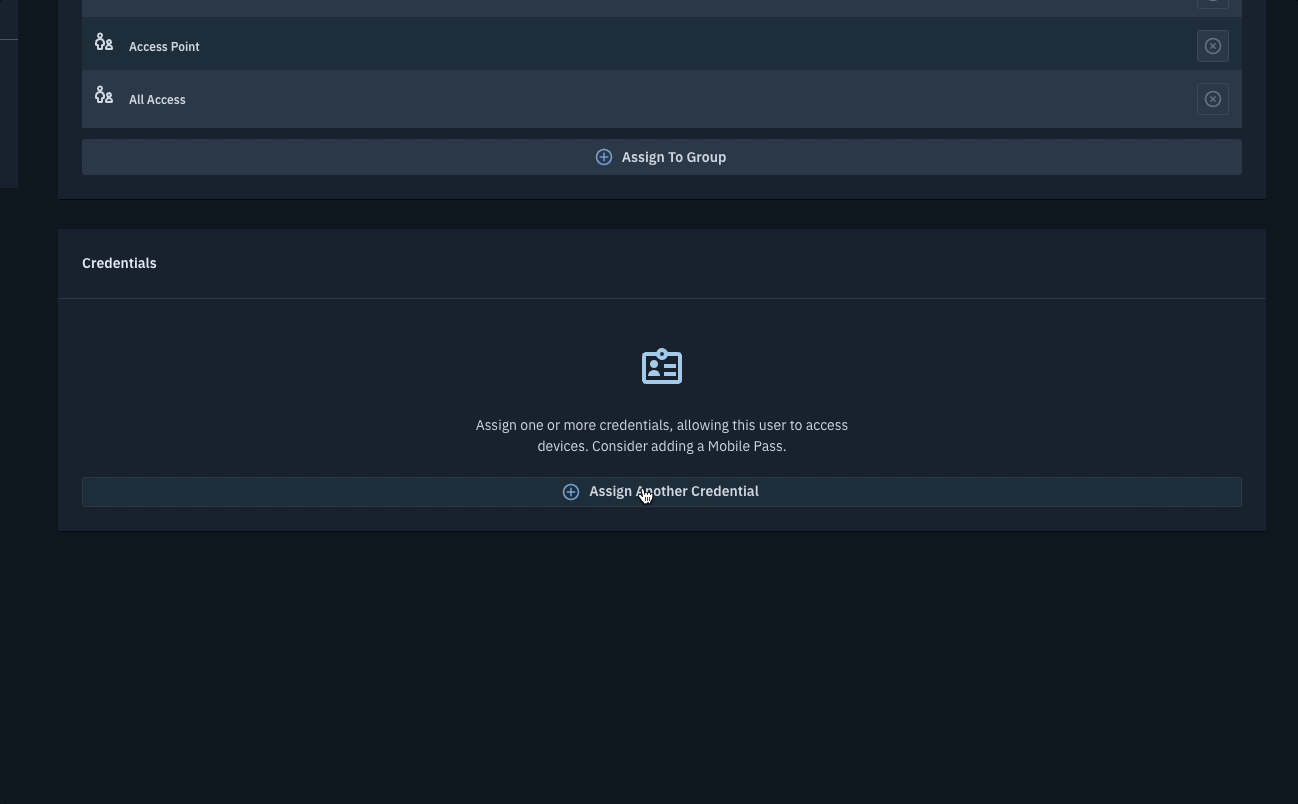
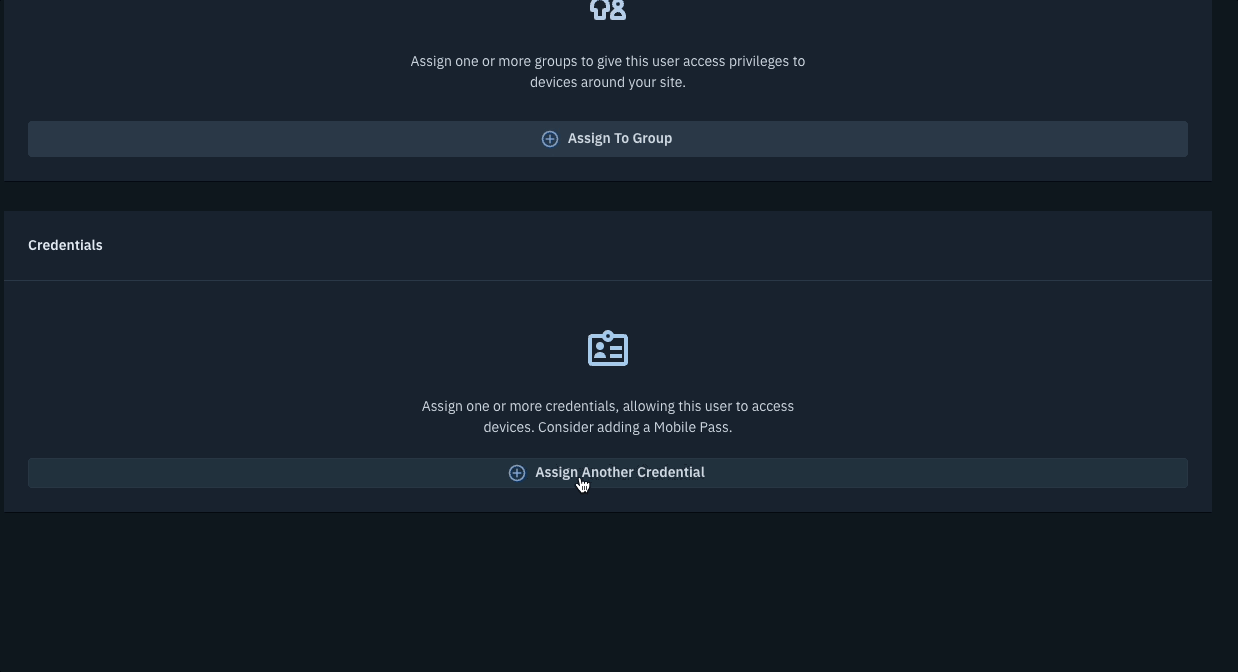
- Scrolling down, you may add a User to a group by clicking on the Assign to a Group button. Select the group(s) you want to assign to the User by clicking on the Assign button in the pop-up window. The Assign button will turn green and say Assigned. When finished, close the pop-up window and add a credential if you want.
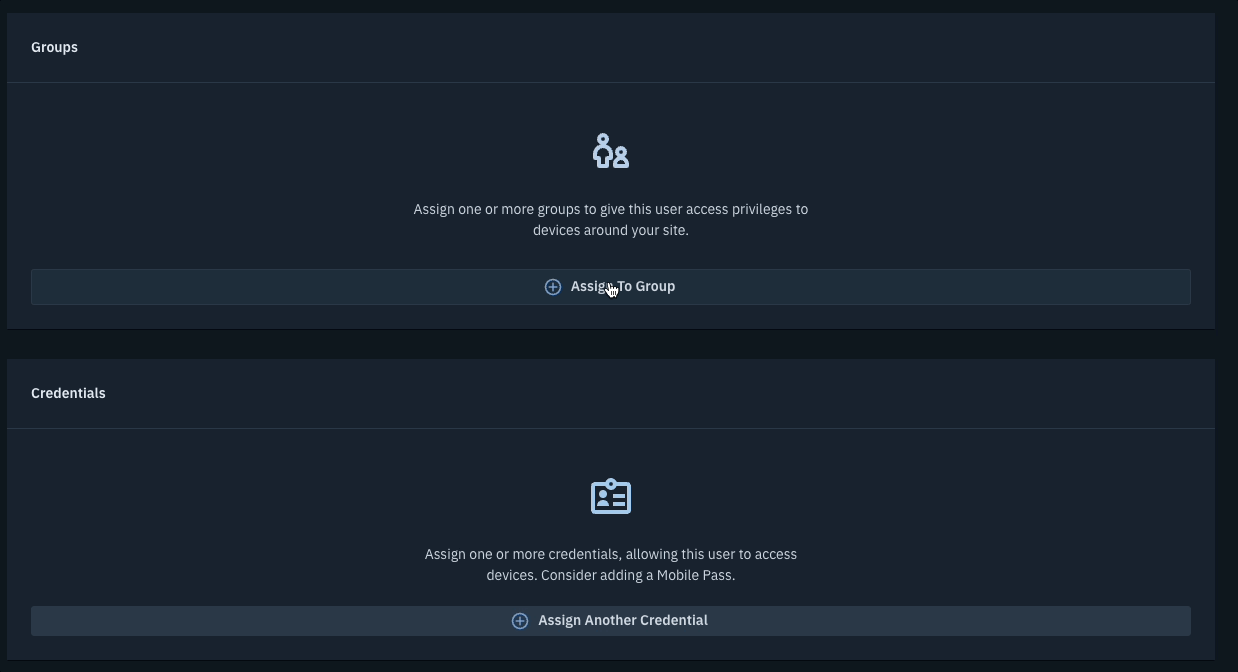
- You may add a credential to a user by clicking on the Assign a Credential button. A pop-up window will appear allowing you to assign a Card, a Brivo Mobile Pass, and/or a PIN. If the user does not have an email address, the Brivo Mobile Pass option is not available.
NOTE: A user may be assigned a maximum of 16 credentials. - To add a card, click on the Card icon and the Card List will appear in a pop-up window. Click on the Assign button next to the card you want to assign. The Assign button will turn green and say Assigned. When you’re done, click Assign Credential at the bottom of the pop-up window.
- To add a Brivo Mobile Pass, make sure you have an email address entered above, and then click on the Mobile Pass icon and the Assign a Mobile Pass pop-up window appears. If there is only one email address assigned for this user, click Assign a Credential and the Mobile Pass invite will be emailed.

- To add a PIN, click on the PIN icon and the Assign a PIN pop-up window appears. Select a PIN of the desired length (4 to 8 characters) and either enter it or randomly generate it using the Generate PIN button. PINs cannot be sequential (for example 1234 or 2468) nor repeating (for example 1111 or 5555). Click Assign a Credential when you’re finished.
- Once done, click the Create User button at the bottom of the page to complete the process.
Related Articles
How-to Video
For a walkthrough of this feature, please watch the video below.